
I actually used this Cake Stand idea for Christmas projects last year -- and couldn't share that ahead of time either, so I'll be sharing about it this Christmas.
I found the idea HERE, and was really excited about all of the possibilities. After all, melamine dinnerware is all the rage now, and wow -- are there ever LOTS of cute patterns around! I found this plate/bowl combo at Target, and loved it because it's got a look of pottery. I was fooled until I actually picked up a piece!

It's a REALLY SIMPLE project, but I always feel a little paranoid about getting the bowl centered on the plate.
Let me backtrack for a minute...
For the two of you who may have never seen a project like this before... You glue the bottom of the bowl to the bottom of the plate, and TaaDaa! You've got a cute little cake-stand! It couldn't be more simple. [E-6000 glue is recommended.] However, like I said... I'm always a little paranoid that I'll glue it and walk away, and when I come back -- I'll realize that it's off-center. So, I devised a little system to help me to center the bowl on the bottom of the plate.


I used a scrapbooking template -- but you could really trace anything round. A jar would work well too, since you could see through it. Here's what I did. I found a circle on the template that was very close-in-size to the circle on the bottom of the bowl. I used the template to trace that circle onto the bottom of the plate. Granted, I was still "eye-balling" it rather than measuring -- but it's a lot easier to see if it's centered this way than once you have the bowl in place!

This allowed me to see exactly where to put the glue, and set the bowl. It worked like a charm!

Now... all that's left is to lay down a line of E-6000 along the marker line, and set the bowl on the circle.

Here's the final result.

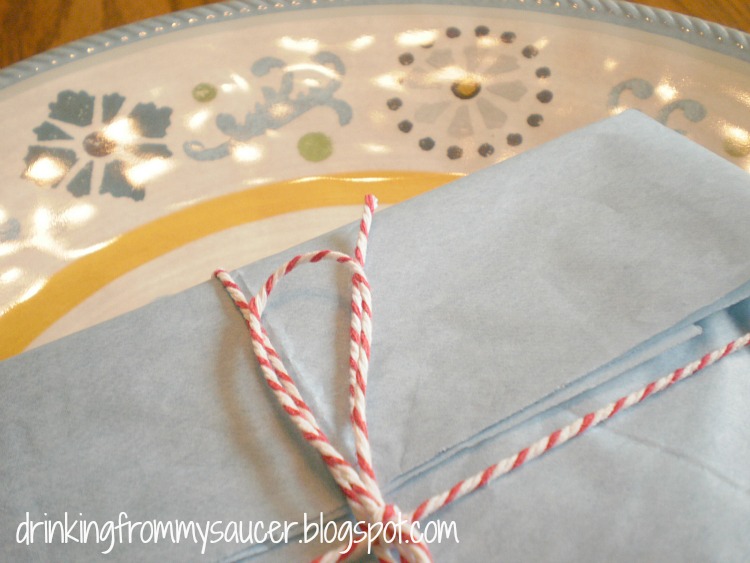
I added a little something extra, and wrapped it all up to go.
Happy Mother's Day, Mom!
MY BEST TIPS:
* work in an area with adequate ventilation
* allow at least 24 hrs. drying/curing time
* hand-wash only
See a similar project here --> A Tale of Two Pretties

That is a great cake stand, and so simple. Love it!
ReplyDeleteQuite lovely and what a great idea! :)
ReplyDeleteBeautiful!
ReplyDelete